It was one of those nights, music blurring into noise and boredom kicks in. Random memories flood; in need of a distraction. One of the things I’ve regretted is throwing data away. Not any garbage files, but data with sentimental values.
Growing up with a computer from a young age, most of my fond memories are encoded in bits.
Being always on the lookout for a clean break. I often just deleted off my history, internet and physical. especially during school days.
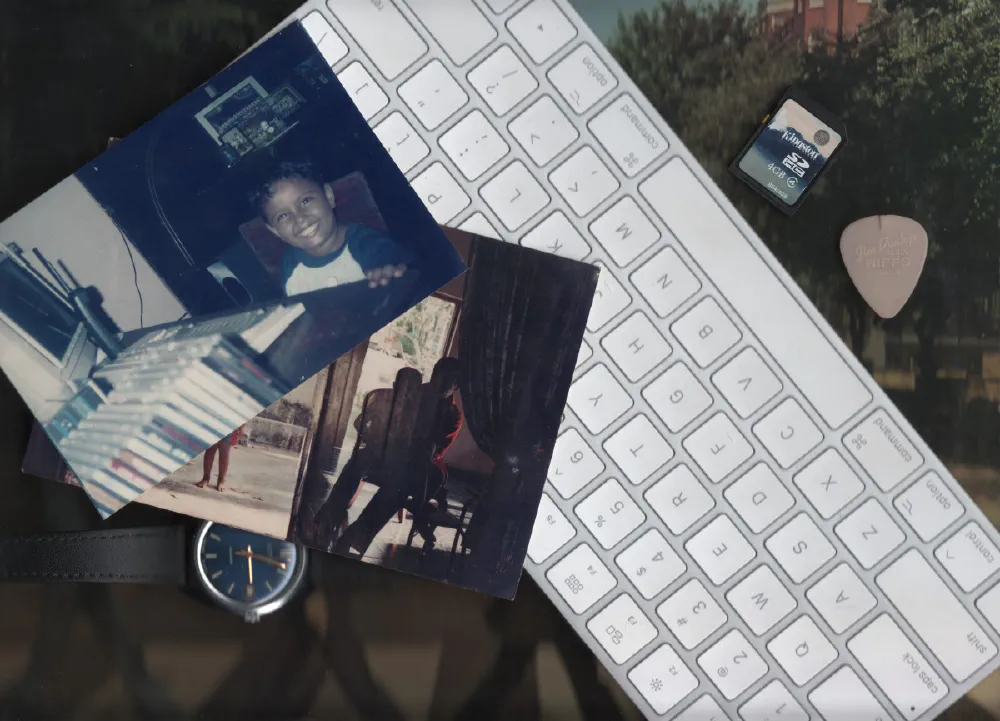
Dusty photo albums
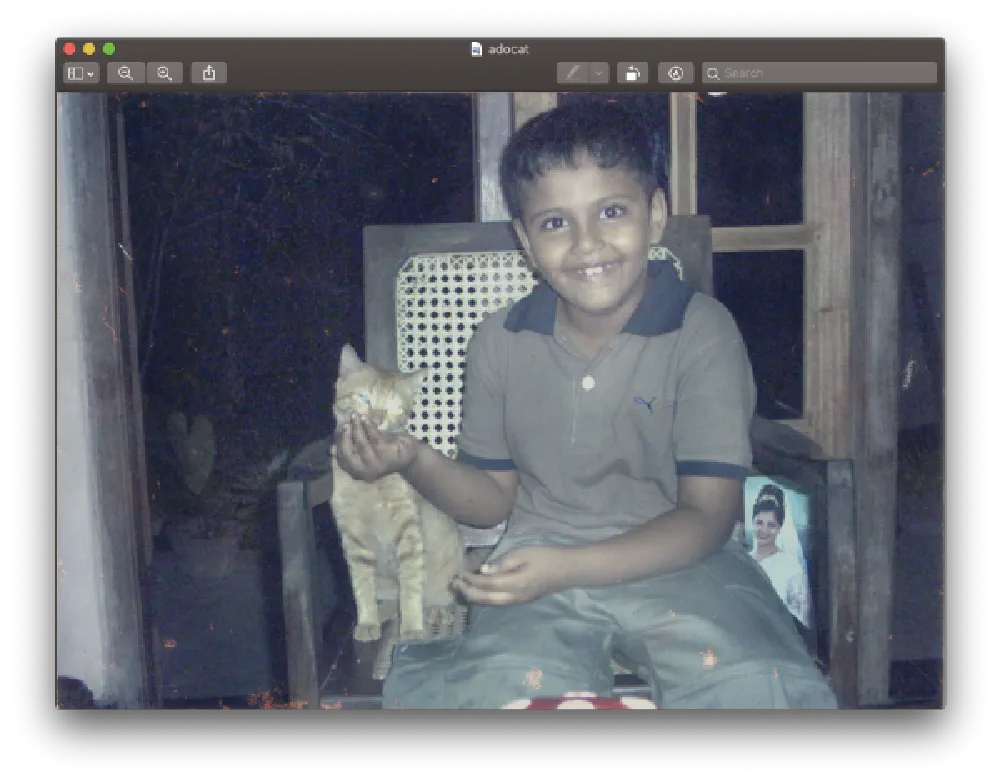
Another day. With the work from home grind during the COVID-19 pandemic, I step out of my room for a breather. I see outside, mum is rummaging through a box of old photo albums. I join her for a little roller-coster ride of the days past.
I haven’t seen most of these photos. Many of them are of me doing various things with some occasional nudes sprinkled in(why?). With my recent encounter with my teenage blogs and the strong feeling of “need-for-archiving”, I ask my mum to take the photos out of the albums to get scanned.
Physical hard-copies are the best form for these pictures to survive, but remember “Backups are important”!
The scanning project
I return to my room to pick work back up, But I was giddy to get this project started. During breaks between work calls, Googling was done; on to figure the best way to get these photos down to disk. I set a mental mission for this project,
Get all the photos backed up as easily as possible at the best quality. Make them easily accessible.
With that in mind, I first needed a Scanner. I don’t have a scanner myself but my uncle has many of them. He’s the sort of cool uncle who migrated to digital early on. He used to digitize a lot of images, but the backup mediums were poor, He tired.
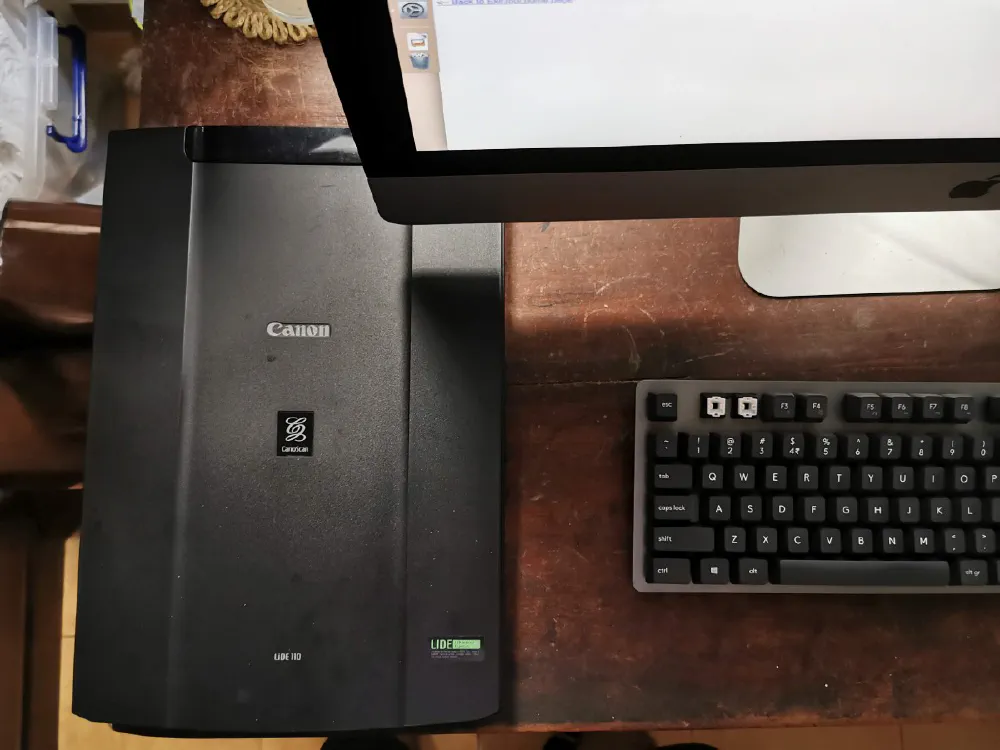
The Scanner
I waited till my uncle gets home from work. Bit of small talk and I asked for a scanner. Target acquired! The Canon CanoScan LIDE 100 is mine now! It’s a portable flatbed scanner from 2004. Sleek and bus-powered through USB. My iMac picked it up with zero monkeying around. Moment of appreciation for plug-and-play.
- TWAIN is an API for communication between software and digital imaging cameras or scanners.
- SANE stands for “Scanner Access Now Easy” what a lovely acronym! It’s a standardised interface to access image scanners.
“Well Kaveen, why use SANE when you have TWAIN?” The SANE project home-page explains it best
“In summary, if TWAIN had been just a little better designed, there would have been no reason for SANE to exist, but things being the way they are, TWAIN simply isn’t SANE.”
Tech tangent aside, with SANE I can quickly get a TIFF out of the scanner without having to cry interacting with GUIs.
scanimage -p \\
    --mode color \\
    --format tiff \\
    --resolution 600 > \`date +%s\`.tiff
Some might say that is INSANE. The above configuration is to scan at 600 DPI in colour.
Scanning The Photos
Moving along. Armed with SANE now, I must decide how I can get the most of my time. I have a couple of options regarding how to take on the scanning.
⚠️ Important note: I don’t want to do the manual labour of cropping pictures, I’ll waste my time automating it instead.
- **Scan a single image at a time **— Too slow but I can quickly crop using a set coordinates.
- **Setup a scan layout with multiple images **— Fast and I can establish multiple crop areas using coordinates, but can’t accommodate different photo sizes.
- auto-mask and identify multiple images — AUTO-MAGICK.
I created myself a little bash script to keep continually scanning. It will simply let me scan images and save each of the TIFF files with the current timestamp as the name.
while true; do
  scanimage -p \\
    --mode color \\
    --format tiff \\
    --resolution 600 > \`date +%s\`.tiff

echo "Press Any Key but ESC to continue scanning"
  read -r -n1 key
  if \[\[ $key == $'\\e' \]\]; then
   break;
  fi
done
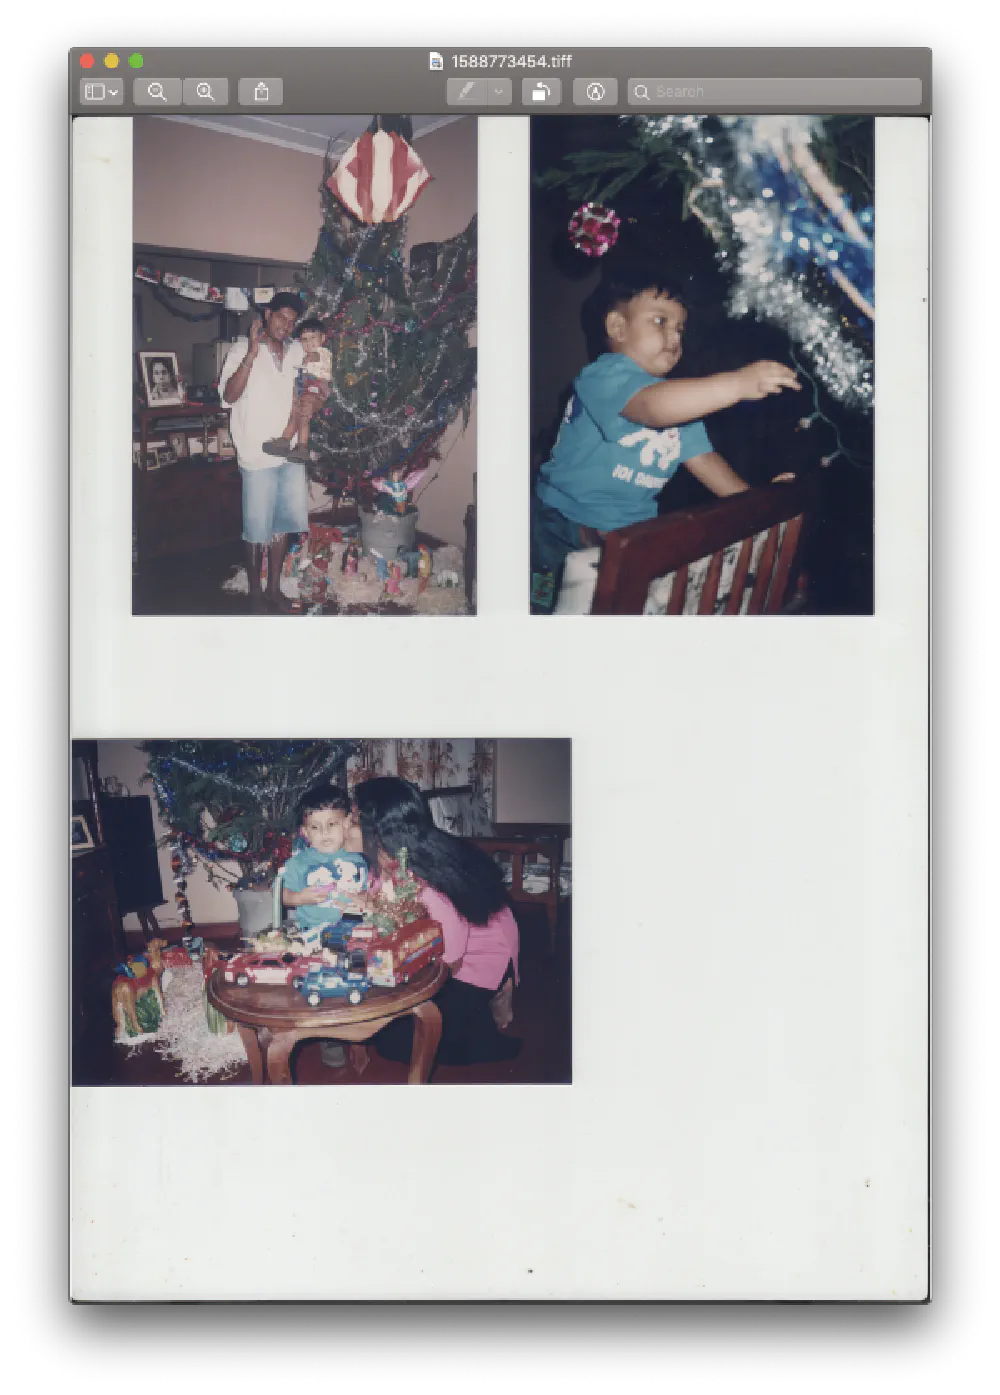
Splitting The Scanned TIFF files
“Image Magick” that’s what saved this project. It’s mind-blowing to know that Image Magick project had its initial release almost 30 years ago!
During my initial research for this project, I came across this script called “multicrop” by Fred Weinhaus. He also has some amazing scripts utilising IM(Image Magick). With multicrop, it’s just,
./multicrop -f 20 \\
    -u 1 \\
    -d 300 \\
    -p 10 \\
    -b '#e9ecea' \\
    in.tiff out.tiff
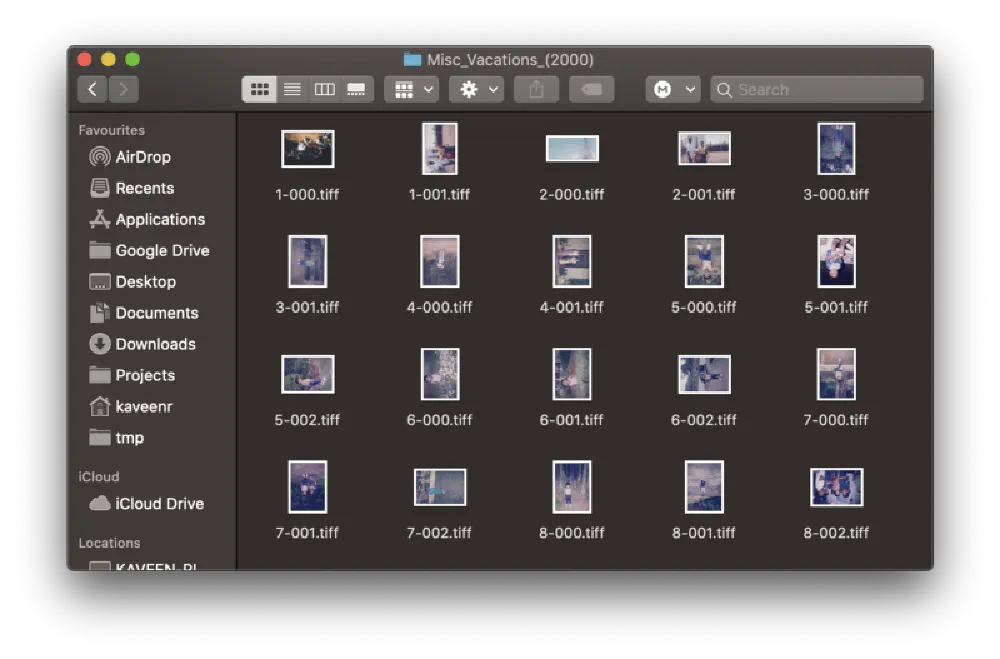
Just by running this bash script it automatically masks out the blank spaces and spits out multiple output tiff files! Multicrop was a godsend, but
☹️ It didn’t work out of the box under my circumstance. The results were all over the place.
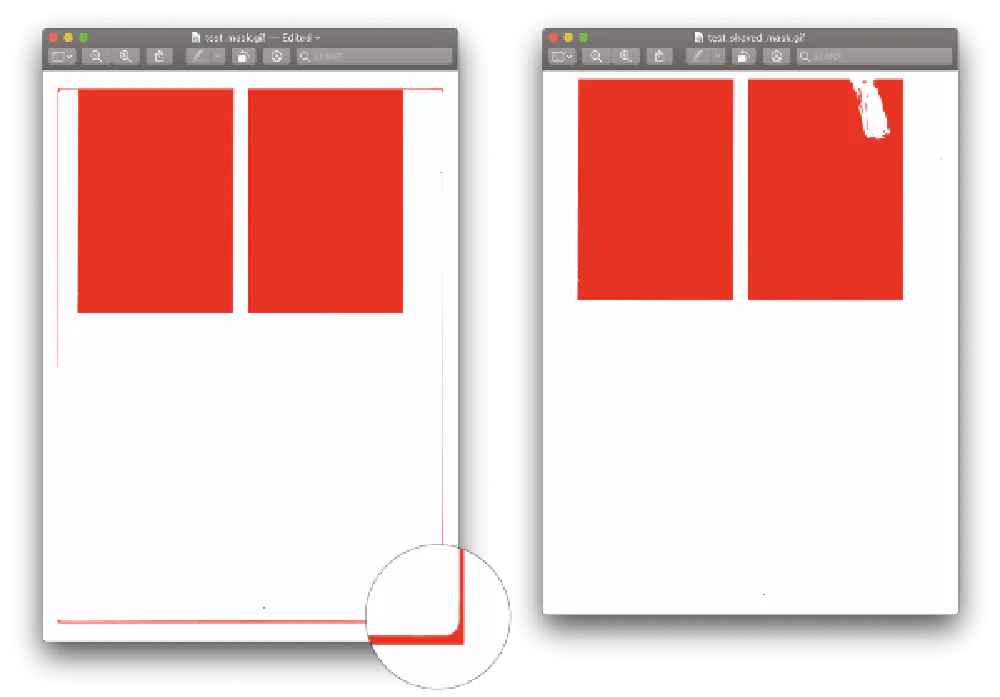
Why wasn’t multicrop working for me?
After scratching my head for some time, It was the scans! My scanner doesn’t spit out a uniform background. The backing of the scanner has deformed in the corners which appear on the scans; to the script, these look like part of an image.
How did I catch this? The multicrop script has `-m` switch that allows you to save the mask for debugging purposes.
./multicrop -f 20 \\
    -u 1 \\
    -d 300 \\
    -p 10 \\
    -b '#e9ecea' \\
    -m save \\
    in.tiff out.tiff
magick convert in.tiff \\
    -shave 15x45 \\
    in\_shaved.tiff
As you can see the result is apparent, The script is now able to separate scans with a negligible amount of failures. Now we’re full steam ahead on getting all these scanned images processed!
End of the line, writing a bash-script to bulk process the scans
Crisis averted, To wrap up, a folder structure was established to keep images in albums for easy organisation. This will help in the last part which is syncing the images on the cloud provider.
⚠️ Warning: Please excuse the crudeness of these bash scripts
imagePath="/Users/kaveenr/ImageScanning"

processIt () {
    echo "Shaving edges of $1"
    tmpFile="/tmp/sane\_scan\_$(date +%s).tiff"
    magick convert "$1" -shave 15x45 $tmpFile
    ./multicrop -f 20 \\
        -u 1 \\
        -d 300 \\
        -p 10 \\
        -b '#e9ecea' \\
        $tmpFile "./$2/$3"
    rm $tmpFile
    echo "Processed Under $outPath/$fileName"
}

find $imagePath -name "\*.tiff" | while read line; do
    fileName=$(basename "$line")
    fileName=${fileName// /\_}
    fileDir=$(dirname "$line")
    outPath="out${fileDir#$imagePath}"
    outPath=${outPath// /\_}
    mkdir -p "$outPath"
    # Check Path
    checkPath="./$outPath/${fileName%.tiff}-\*.tiff"
    echo "checking path $checkPath"
    if ls $checkPath 1> /dev/null 2>&1; then
        echo "files do exist for '$line'"
    else
        processIt "$line" "$outPath" "$fileName"
    fi
done
This first script will take the scanned images; do the aforementioned trimming and run it through multicrop.
The easily accessible part of the mission
Hold on, the mission of this project had “Make the albums easily accessible.”. At this point, I’ve already synced these photos to a cloud drive and another local-offline backup.
As for the ease of access, I decided to add the images to my cloud photos manager Google Photos. Scripting time!
imagePath="/Users/kaveenr/Projects/sane-scan-photo/out"

ls $imagePath | while read album; do
    albumTitle=${album//\_/ }
    albumTitle=${albumTitle%%(\*)}
    albumTitle="${albumTitle%% }"

echo "Syncing $albumTitle"
    rclone sync $imagePath/$album \\
        Photos:album/"$albumTitle" -P
done
Apart from some album renaming the heavy lifting is done by Rclone and it’s Google Photos backend.

Takeaways
It feels great to write something again. Apart from feelings and sorts. In short, the following points summarize this project in total.
- Back your shiz up — For images as said before physical is the way to go, but always have a secondary soft-copy.
- Think twice before you delete anything, you might regret later.
- Image Magick is amazing. I’ve been converted. I actually manipulated all of the images for this post using IM.
Personally, this was my first entry into bash-scripting as I often use Python for most automation tasks. And with tools like IM, it’s unbelievably easy to write image related scripts in bash. Next is ffmpeg….
Appendices
Heh, I have more if you’re interested. Some stuff that is too boring to cram into the main section
Multicrop parameter Notes
Configuration Notes:-b ‘#e9ecea’ — Background Color to be masked out
-f 20 — fuzzy match background threshold (for non-uniform backgrounds)
-d 300 — discard identified regions if they are smaller than 300 pixels
Adding EXIF Data & Compressing to HEIC
I created an EXIF data script that will extract the date or year from the folder and embed it into the image. I decided to compress the images to HEIC which is much better than JPEG compression.
imagePath="/Users/kaveenr/Projects/sane-scan-photo/out"
yearRegex='\\((\[0-9\]{4})\\)'
dateRegex='\\((\[0-9\]{4})\\:(\[0-9\]{2})\\:(\[0-9\]{2})\\)'
targetFormat="heic"

ls $imagePath | while read album; do
    albumTitle=${album//\_/ }
    if \[\[ "$albumTitle" =~ $yearRegex \]\]; then
        guessYear=${BASH\_REMATCH\[1\]}
        echo "Found Year in title $guessYear, Setting EXIF Data"
        exiftool -overwrite\_original \\
            -xmp:dateTimeOriginal="$guessYear:1:1" \\
            -r $imagePath/$album/
    fi
    if \[\[ "$albumTitle" =~ $dateRegex \]\]; then
        guessYear=${BASH\_REMATCH\[1\]}
        guessMonth=${BASH\_REMATCH\[2\]}
        guessDay=${BASH\_REMATCH\[3\]}
        echo "Found Date in title $guessYear/$guessMonth/$guessDay, Setting EXIF Data"
        exiftool -overwrite\_original \\
            -xmp:dateTimeOriginal="$guessYear:$guessMonth:$guessDay" \\
            -r $imagePath/$album/
    fi
    if ls $imagePath/$album/compressed 1> /dev/null 2>&1; then
        echo "Album $albumTitle already compressed"
    else
        echo "Compressing $albumTitle to $targetFormat"
        (cd $imagePath/$album ; magick mogrify -quality 100% -format $targetFormat \*.tiff)
        (cd $imagePath/$album ; mkdir -p compressed; mv \*.$targetFormat compressed)
    fi
done
Note: Ultimately these tags were not picked up by Google Photos for some reason I suspect it’s the HEIC format.
Q: How many photos did I back up?
Not that much, 371
➜  find ./out -name "\*.tiff" | wc -l
     371